Modern web applications rarely operate as standalone systems. A business website might communicate with a mobile application, a CRM, a payment gateway, an inventory management system, or even an AI-powered assistant. The common language that allows all of these systems to exchange information is an API.
WordPress is no exception. While many people think of it as a content management system for building websites, it also provides a powerful REST API that enables developers to expose and consume data programmatically. This makes WordPress a flexible backend capable of supporting modern web applications far beyond traditional websites.
Out of the box, WordPress already provides endpoints for posts, pages, media, categories, users, comments, and more. However, real-world projects often require data that is unique to the business. A booking platform may need to expose available appointments, a customer portal might require account information, or a company website may need to provide a list of services to a mobile application.
Instead of allowing external applications to access the database directly, developers can create custom REST API endpoints that expose only the required information in a structured and secure way.
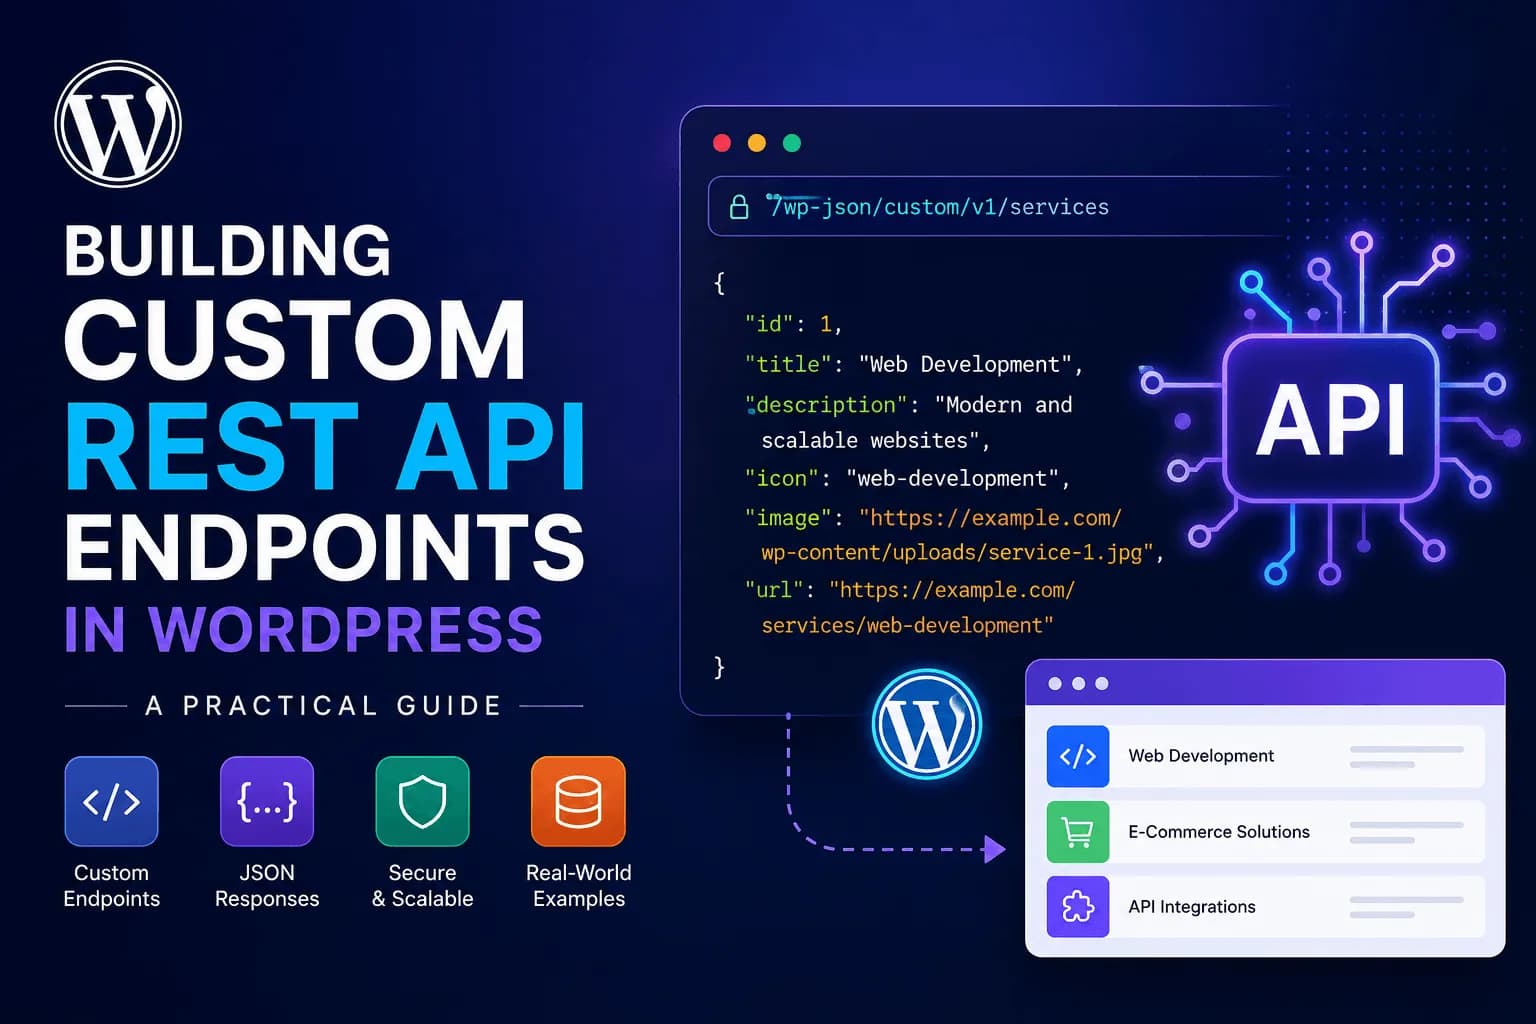
Throughout this guide, we'll build a custom endpoint that returns service information using the following URL:
/wp-json/custom/v1/services
Although we'll use a simple services endpoint as our example, the same concepts apply when building APIs for products, bookings, testimonials, customer portals, inventory systems, or virtually any business-specific functionality.
By the end of this article, you'll understand how WordPress REST API routes work, how to register your own endpoints, how to return structured JSON responses, how to process incoming requests securely, and the best practices for building scalable APIs.
What Is the WordPress REST API?
The WordPress REST API is a feature that allows applications to communicate with WordPress using standard HTTP requests. Instead of returning HTML pages intended for browsers, the REST API returns structured JSON data that can be consumed by websites, mobile applications, desktop software, and third-party services.
For example, requesting the following endpoint:
/wp-json/wp/v2/posts
returns a collection of published posts in JSON format.
Similarly,
/wp-json/wp/v2/pages
returns all published pages, while other built-in endpoints provide access to categories, media files, users, comments, tags, and many other resources.
This transforms WordPress into much more than a traditional CMS. It becomes an application backend capable of serving data to virtually any platform that can make an HTTP request.
This flexibility is one of the main reasons why WordPress is widely used in headless architectures, mobile applications, SaaS products, internal business tools, and third-party integrations.
Why Build Custom REST API Endpoints?
The built-in WordPress endpoints cover many common scenarios, but every project has its own business requirements.
Imagine you're developing a mobile application for a company website. The app only needs to display the company's services, including the service title, description, featured image, and URL.
While this information already exists inside WordPress, the default REST API may return much more data than necessary. Returning unnecessary information increases response size, exposes data that isn't needed, and makes it more difficult for external applications to consume the API.
A custom endpoint solves this problem by returning only the information required by the application.
Some common use cases include:
Creating custom endpoints also allows developers to apply business rules before returning data. You might filter results, combine information from multiple sources, perform calculations, or restrict access based on user permissions.
Rather than exposing your database structure, you expose a carefully designed API that represents your business.
Understanding REST API Routes
Before creating a custom endpoint, it's important to understand how WordPress structures REST API routes.
We'll use the following endpoint throughout this tutorial:
/wp-json/custom/v1/services
Although it looks simple, every part of this URL serves a specific purpose.
/wp-json/
This is the base URL for every WordPress REST API endpoint.
Whenever WordPress receives a request beginning with /wp-json/, it knows the request should be handled by the REST API instead of rendering a standard webpage.
Every custom endpoint you build will begin with this prefix.
custom
The second part of the URL is called the namespace.
A namespace acts as a unique identifier for your plugin or application. It prevents naming conflicts between plugins that may expose similar endpoints.
For example, imagine two plugins both create an endpoint called:
/services
Without namespaces, WordPress wouldn't know which plugin should respond to the request.
Instead, each plugin defines its own namespace.
For example:
/wp-json/custom/services
and
/wp-json/booking/services
are treated as completely separate endpoints.
In production projects, it's considered best practice to use your plugin or company name as the namespace.
v1
The next segment represents the API version.
Versioning is extremely important because APIs evolve over time.
Suppose your mobile application currently consumes Version 1 of your API.
Months later, your business requirements change, and you redesign the response structure.
Instead of modifying the existing endpoint and breaking every application already using it, you simply introduce a new version.
/wp-json/custom/v2/services
Existing applications continue using Version 1, while newer applications migrate to Version 2 when they're ready.
This approach maintains backward compatibility and prevents unexpected failures in production systems.
services
The final segment is the resource being requested.
In this tutorial, our endpoint returns a collection of services.
Depending on your application, this resource could represent products, bookings, testimonials, customers, projects, team members, or any other type of business data.
Keeping endpoint names descriptive makes your API easier to understand and maintain.
Registering Your First REST API Endpoint
Now that we understand how REST API routes are structured, it's time to register our own endpoint.
WordPress provides a dedicated action called rest_api_init. This action runs whenever the REST API is initialized and is the correct place to register custom routes.
Let's create our first endpoint.
add_action(
    'rest_api_init',
    'custom_register_routes'
);

function custom_register_routes() {

    register_rest_route(
        'custom/v1',
        '/services',
        array(
            'methods'             => 'GET',
            'callback'            => 'custom_get_services',
            'permission_callback' => '__return_true',
        )
    );

}
Although this code is relatively short, several important things happen behind the scenes.
The rest_api_init action tells WordPress exactly when your routes should be registered.
Inside that function, the register_rest_route() function creates a brand-new endpoint located at:
/wp-json/custom/v1/services
Whenever a request is made to this URL, WordPress automatically executes the callback function specified during registration.
In our example, that callback is:
custom_get_services()
This function will retrieve the required data and generate the JSON response that gets returned to the client.
Understanding register_rest_route()
The register_rest_route() function is responsible for registering custom endpoints within the WordPress REST API.
Its basic structure looks like this:
register_rest_route(
    $namespace,
    $route,
    $args
);
Although the function accepts only three arguments, each one plays an important role.
The namespace identifies your application and helps prevent conflicts with other plugins.
The route defines the actual endpoint that users or external applications will access.
Finally, the arguments array controls how the endpoint behaves. Here you define which HTTP methods are supported, which function should handle incoming requests, who has permission to access the endpoint, and additional configuration such as request validation.
Together, these arguments define both the structure and the behavior of your API endpoint.
In the next section, we'll build the custom_get_services() callback function, retrieve data, return properly formatted JSON responses, and explore how WordPress handles API responses internally.
Returning Data from the Endpoint
Now that we've registered our custom endpoint, it's time to define what happens when someone visits it.
Every REST API route needs a callback function. This function is responsible for retrieving data, processing it if necessary, and returning a response to the client.
For this guide, we'll keep things simple by returning a list of services.
function custom_get_services() {

    $services = array(
        array(
            'title'       => 'Web Development',
            'description' => 'Custom WordPress and modern web applications.',
            'url'         => home_url( '/services/web-development' ),
        ),
        array(
            'title'       => 'E-Commerce Solutions',
            'description' => 'Scalable WooCommerce development services.',
            'url'         => home_url( '/services/ecommerce' ),
        ),
        array(
            'title'       => 'API Integrations',
            'description' => 'Connect WordPress with third-party platforms.',
            'url'         => home_url( '/services/api-integrations' ),
        ),
    );

    return rest_ensure_response( $services );

}
If you visit the following endpoint:
/wp-json/custom/v1/services
WordPress returns a JSON response similar to this:
[
    {
        "title": "Web Development",
        "description": "Custom WordPress and modern web applications.",
        "url": "https://example.com/services/web-development"
    },
    {
        "title": "E-Commerce Solutions",
        "description": "Scalable WooCommerce development services.",
        "url": "https://example.com/services/ecommerce"
    }
]
Although this example uses a simple array, the same callback function could retrieve data from custom post types, custom database tables, WooCommerce products, external APIs, or any other data source.
Why Use rest_ensure_response()?
One question many developers ask is:
Why don't we simply return the array?
Technically, WordPress can convert arrays into JSON automatically. However, using rest_ensure_response() is considered best practice because it guarantees the returned data is converted into a proper REST API response.
return rest_ensure_response( $services );
Using this function also makes your endpoint consistent with the rest of the WordPress REST API and provides better compatibility when returning more complex responses later.
As your API grows, you'll often return response objects, custom status codes, or headers. Using rest_ensure_response() from the beginning ensures your implementation is future-proof.
Retrieving Data from WordPress
In production projects, you won't usually return hardcoded arrays. Instead, your endpoint will retrieve information from WordPress itself.
For example, if your services are stored as a Custom Post Type, you can query them using WP_Query.
$args = array(
    'post_type'      => 'services',
    'posts_per_page' => -1,
);

$query = new WP_Query( $args );
After retrieving the posts, you can loop through them and build a clean JSON response.
$services = array();

if ( $query->have_posts() ) {

    while ( $query->have_posts() ) {

        $query->the_post();

        $services[] = array(
            'title'       => get_the_title(),
            'description' => get_the_excerpt(),
            'url'         => get_permalink(),
        );

    }

    wp_reset_postdata();

}

return rest_ensure_response( $services );
This approach keeps your API synchronized with your WordPress content. Whenever a service is updated inside the WordPress dashboard, the API automatically returns the latest information without requiring any additional changes.
Understanding HTTP Methods
When registering our endpoint, we specified the following method:
'methods' => 'GET'
The HTTP method determines what type of request your endpoint accepts.
A GET request is used when retrieving information without modifying any data.
However, REST APIs support several HTTP methods, each designed for a different purpose.
GET retrieves information from the server.
POST creates new resources.
PUT updates an existing resource.
PATCH updates specific parts of an existing resource.
DELETE removes a resource.
Choosing the appropriate HTTP method makes your API more predictable and aligns it with RESTful development principles.
For our services endpoint, GET is the correct choice because we're simply returning information.
Accepting Parameters
Sometimes an endpoint needs additional information before it can generate a response.
Imagine you only want to retrieve a single service.
Instead of returning every service, the client could specify an ID.
For example:
/wp-json/custom/v1/services/25
WordPress allows route parameters to be captured directly from the URL.
register_rest_route(
    'custom/v1',
    '/services/(?P<id>\d+)',
    array(
        'methods'             => 'GET',
        'callback'            => 'custom_get_service',
        'permission_callback' => '__return_true',
    )
);
The expression:
(?P<id>\d+)
tells WordPress to capture a numeric value and store it as id.
Inside the callback function, you can retrieve the value like this:
function custom_get_service( $request ) {

    $id = $request->get_param( 'id' );

}
This allows your endpoint to respond dynamically based on the requested resource.
Accepting POST Requests
Not every API endpoint retrieves data.
Many endpoints create new resources.
For example, a mobile application might submit a customer enquiry through your API.
To support this functionality, register your endpoint using the POST method.
register_rest_route(
    'custom/v1',
    '/contact',
    array(
        'methods'             => 'POST',
        'callback'            => 'custom_submit_contact',
        'permission_callback' => '__return_true',
    )
);
Inside the callback, request data can be accessed using the request object.
function custom_submit_contact( $request ) {

    $name  = sanitize_text_field(
        $request->get_param( 'name' )
    );

    $email = sanitize_email(
        $request->get_param( 'email' )
    );

}
Always sanitize incoming data before using or storing it.
Never assume request data is safe simply because it comes from your own application.
Understanding Permission Callbacks
One of the most important arguments in register_rest_route() is:
permission_callback
This function determines whether a user is allowed to access the endpoint.
Throughout this tutorial we've used:
'permission_callback' => '__return_true'
This makes the endpoint publicly accessible.
While this is perfectly acceptable for public information like services, blog posts, or testimonials, it should never be used for sensitive business data.
For protected endpoints, the permission callback should verify whether the current user has the required capabilities.
For example:
'permission_callback' => function () {
    return current_user_can( 'manage_options' );
}
Only administrators would be able to access this endpoint.
Choosing the correct permission callback is one of the most important security decisions when building custom REST APIs.
Error Responses
Not every request should return successful data.
Sometimes the requested resource doesn't exist or the user isn't authorized to access it.
WordPress provides the WP_Error class for returning meaningful API errors.
return new WP_Error(
    'service_not_found',
    'The requested service could not be found.',
    array(
        'status' => 404,
    )
);
Returning proper HTTP status codes makes your API much easier to consume and debug.
Some common status codes include:
200 – Request completed successfully.
400 – Invalid request.
401 – Authentication required.
403 – Access denied.
404 – Resource not found.
500 – Internal server error.
Using descriptive error responses helps client applications understand exactly what went wrong.
Testing Your Endpoint
Once your endpoint has been registered, it's important to verify that it's working correctly.
The simplest way is to visit the endpoint directly in your browser.
/wp-json/custom/v1/services
If everything has been configured correctly, WordPress returns a JSON response instead of a webpage.
For more advanced testing, many developers use tools such as Postman or Insomnia. These applications make it easy to send GET, POST, PUT, and DELETE requests, inspect headers, test authentication, and validate API responses before integrating them into websites or mobile applications.
Testing your endpoints early helps identify routing, permission, and validation issues before they reach production.
Best Practices
Building a working endpoint is relatively straightforward, but building a maintainable API requires following good development practices.
Use descriptive namespaces and version your endpoints from the beginning, even if you don't expect immediate changes. This makes future updates much easier to manage.
Always sanitize and validate incoming request data before using it. Never trust user input.
Return consistent response structures so client applications know what to expect.
Keep business logic separate from your route registration whenever possible. As projects grow, this makes your code easier to maintain and test.
Finally, use permission callbacks carefully. Public endpoints should expose only information that is intended to be publicly accessible.
Common Mistakes
Many developers new to the WordPress REST API encounter similar issues.
One common mistake is registering routes outside the rest_api_init action. Doing so can prevent WordPress from recognizing the endpoint correctly.
Another frequent issue is forgetting the permission_callback. Since recent versions of WordPress require this argument, omitting it will generate warnings and may prevent your endpoint from working as expected.
Developers also sometimes return raw database results without formatting them. Instead, build structured responses that expose only the information required by the client.
Finally, avoid exposing sensitive data through public endpoints. Even if the information seems harmless today, APIs often become permanent interfaces that external applications depend on.
Final Thoughts
The WordPress REST API has transformed WordPress into much more than a traditional content management system. By creating custom REST API endpoints, developers can build flexible backends that power websites, mobile applications, customer portals, AI applications, and third-party integrations.
The key isn't simply registering routes—it's understanding how requests flow through the REST API, choosing the correct HTTP methods, validating incoming data, securing your endpoints, and returning consistent responses.
Once you understand these concepts, you'll discover that the WordPress REST API becomes one of the most powerful tools available for extending WordPress beyond the browser and integrating it with modern applications.